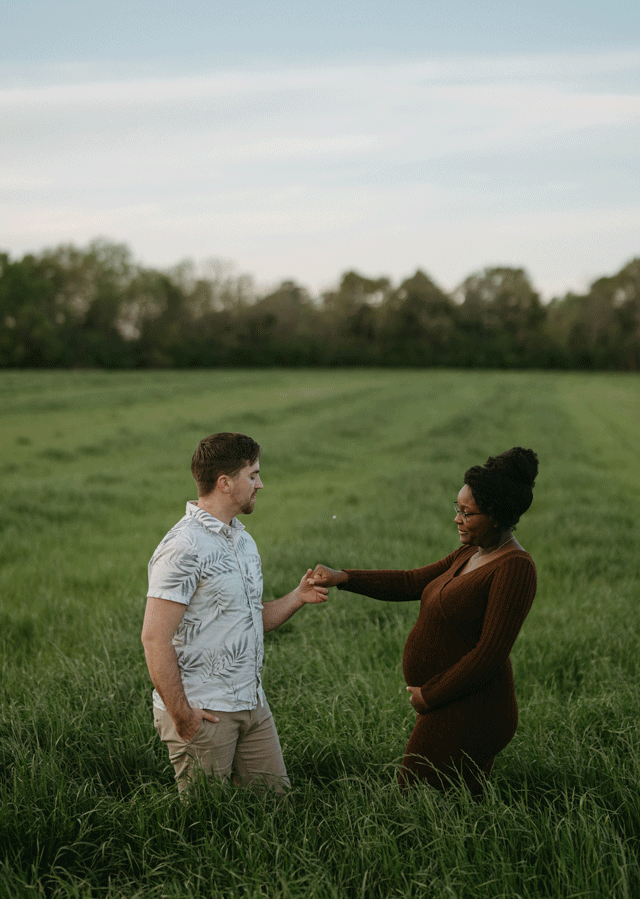
Imagine you’re casually swiping through a gallery of photos, and suddenly, you stumble upon a GIF of a couple twirling under the stars or sharing a sweet kiss in the rain. It’s like you’re right there with them, soaking up the romance and feeling all warm and fuzzy inside.
As a photographer, I’ve always believed in freezing moments in time. Each click of the shutter captures a fragment of life, preserving emotions, laughter, and love for eternity. However, there’s something incredibly special about adding GIFs to a couples’ photo gallery that takes this concept to a whole new level.
Photography is all about capturing those moments of joy and love, right? Well, GIFs take it up a notch. They don’t just freeze a moment in time; they capture the movement, the emotion, and the whole vibe, making it feel like you’re experiencing it live and in technicolor.
And here’s the cool part: when couples look back on their photo gallery, those GIFs will transport them back to those special moments. It’s like hitting the rewind button on the best memories of their lives.
Ready to create GIFS for your clients?
Let’s go!
First things first:
- I’m creating GIFS intentionally. During a session, I look out for moments that have good movement and capture the moment in burst mode.
Once the photos are edited – we go to photoshop and that’s where the fun begins!
- Prepare Your Files: Gather the images or video clips you want to include in your GIF. Make sure they are saved in a compatible format (JPEG, PNG, GIF, or PSD).
- Create a New Document: Go to File > New to create a new document in Photoshop.
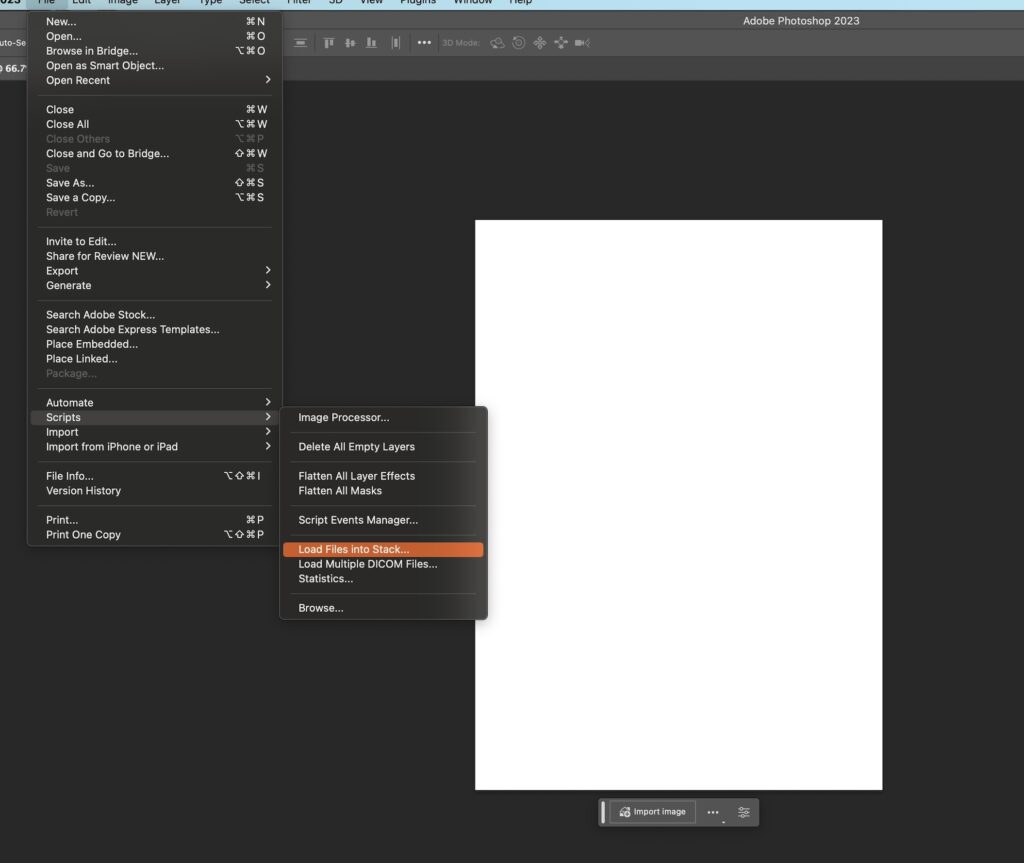
- Click File > Scripts > Load Files into Stack
4. Import Images and load them into the stack.
5. Open the Timeline Panel: Navigate to Window > Timeline to open the Timeline panel at the bottom of the Photoshop interface.
6. Create Frames: In the Timeline panel, click on the “Create Frame Animation” button. This action converts your layers into individual frames for the GIF.
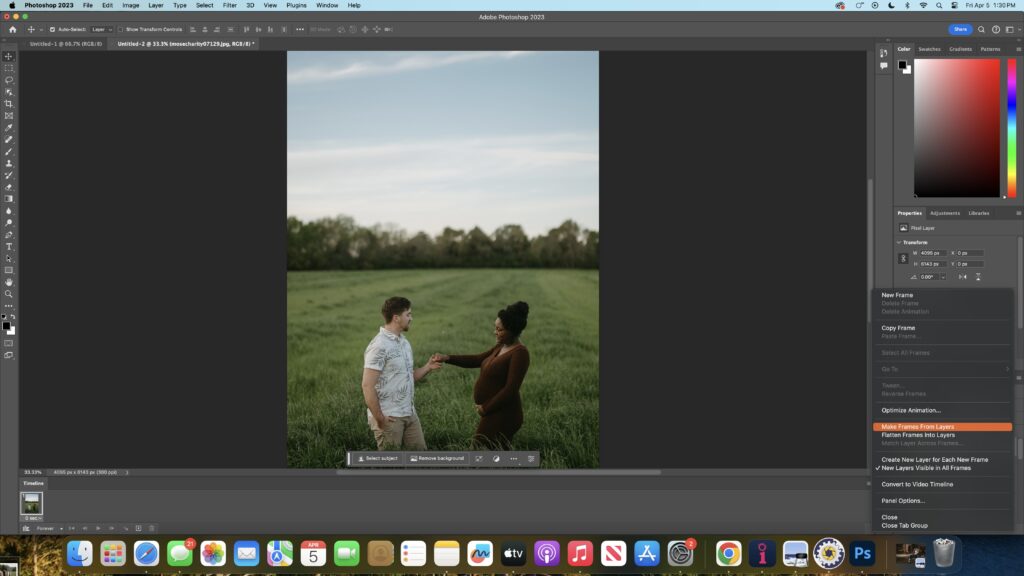
7. Click the hamburger in the right hand corner and select Make Frames From Layers.
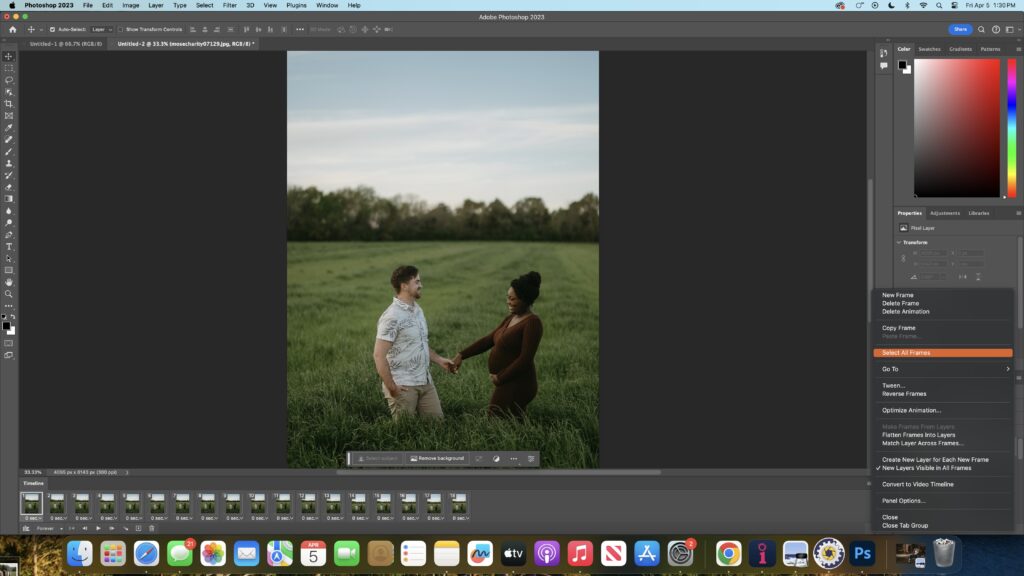
8. Click the hamburger on the right again and select all frames.

9. Adjust Frame Duration: Select each frame in the Timeline panel and set the desired duration (in seconds) for how long it should be displayed. You can choose the same duration for all frames or customize it as needed.
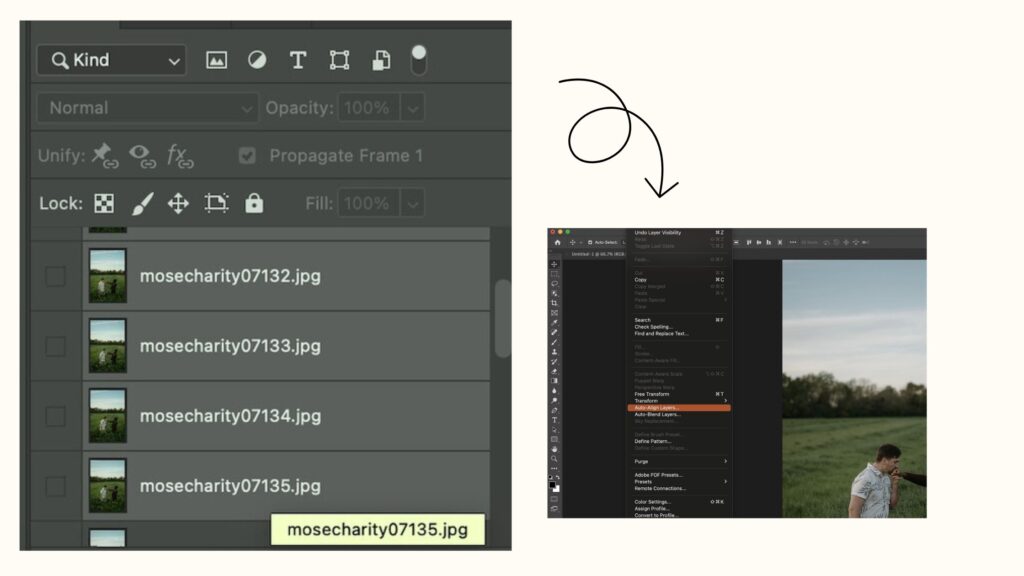
10. Manually select all images on the right hand corner by using Command > Shift (mac) or Ctrl + C or Ctrl (windows)
11. Click File > Auto Align Layers and press Auto Correction.
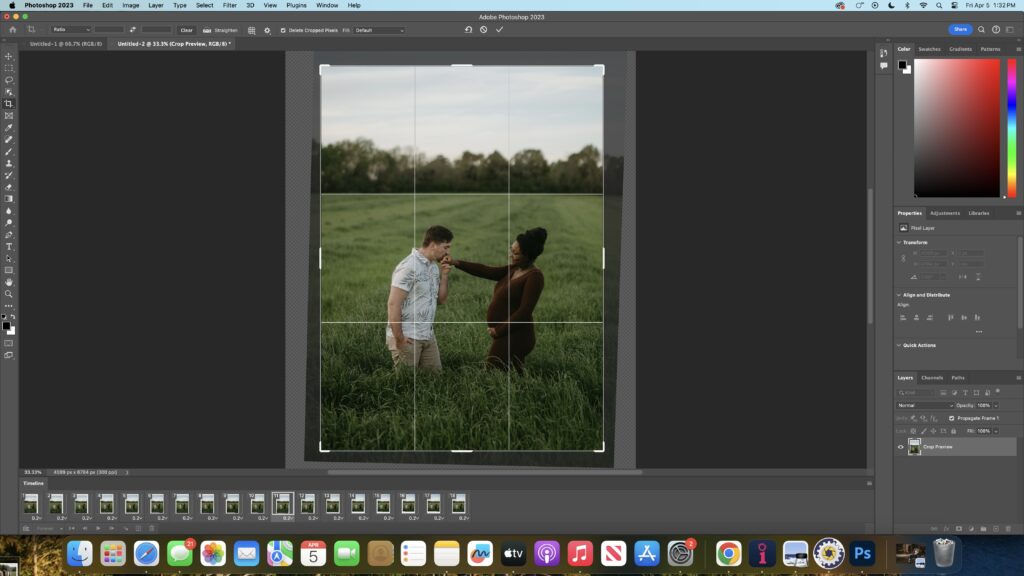
12. Crop images so there is no white showing around the edges.
13. Preview Your GIF: Click the “Play” button in the Timeline panel to preview your GIF animation. This allows you to review the timing and sequence of your frames.
14. Save as GIF: Once you’re satisfied with your GIF, go to File > Export > Save for Web (Legacy). In the Save for Web window, select GIF as the file format. Adjust settings such as size, looping options, and color settings according to your preferences. Typically I adjust my size to 640 W.
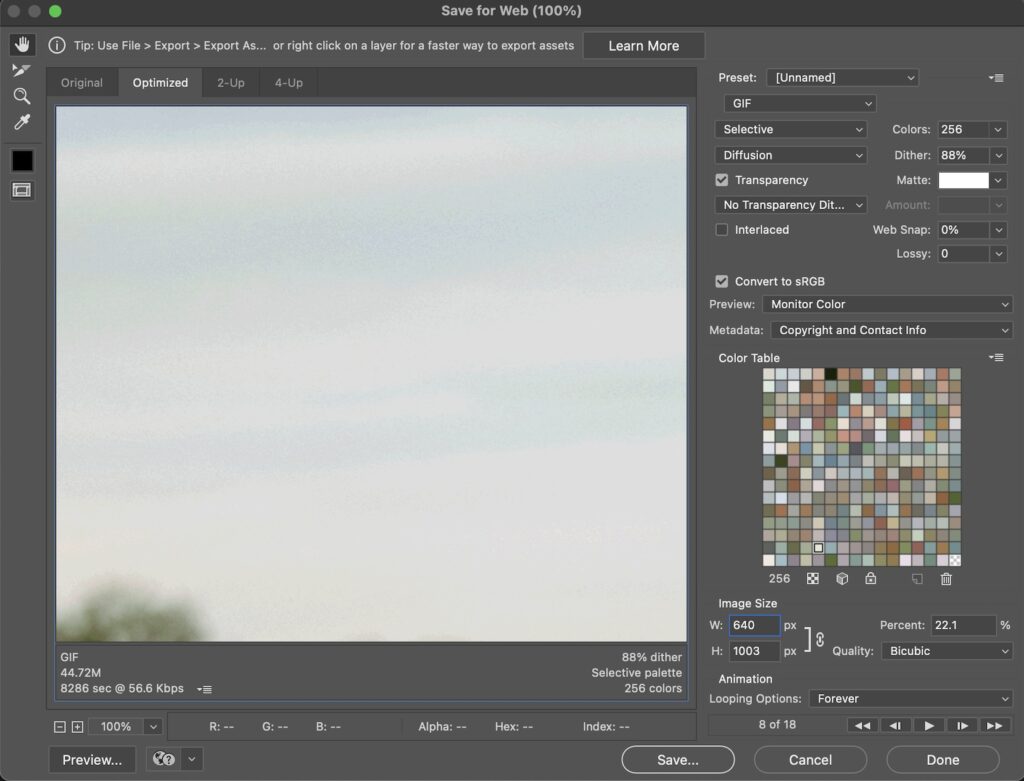
15. Export Your GIF: Click the “Save” button to export your GIF to your desired location on your computer. Choose a suitable file name and click “Save” again to finalize the export process.
And you have yourself a GIF ready to go!
I hope this was helpful for your own GIF journey! Let me know in the comments if you created your own GIF!